Start with Cold Water
Place eggs in a single layer in a pot and cover them with cold water, about 1–2 inches above the eggs. Starting cold helps them heat evenly and reduces cracking.
Heat Gently
Bring the water to a gentle boil over medium heat. Once it starts boiling, turn off the heat and cover the pot immediately. This allows the eggs to cook in residual heat instead of harsh boiling water.
Control the Timing
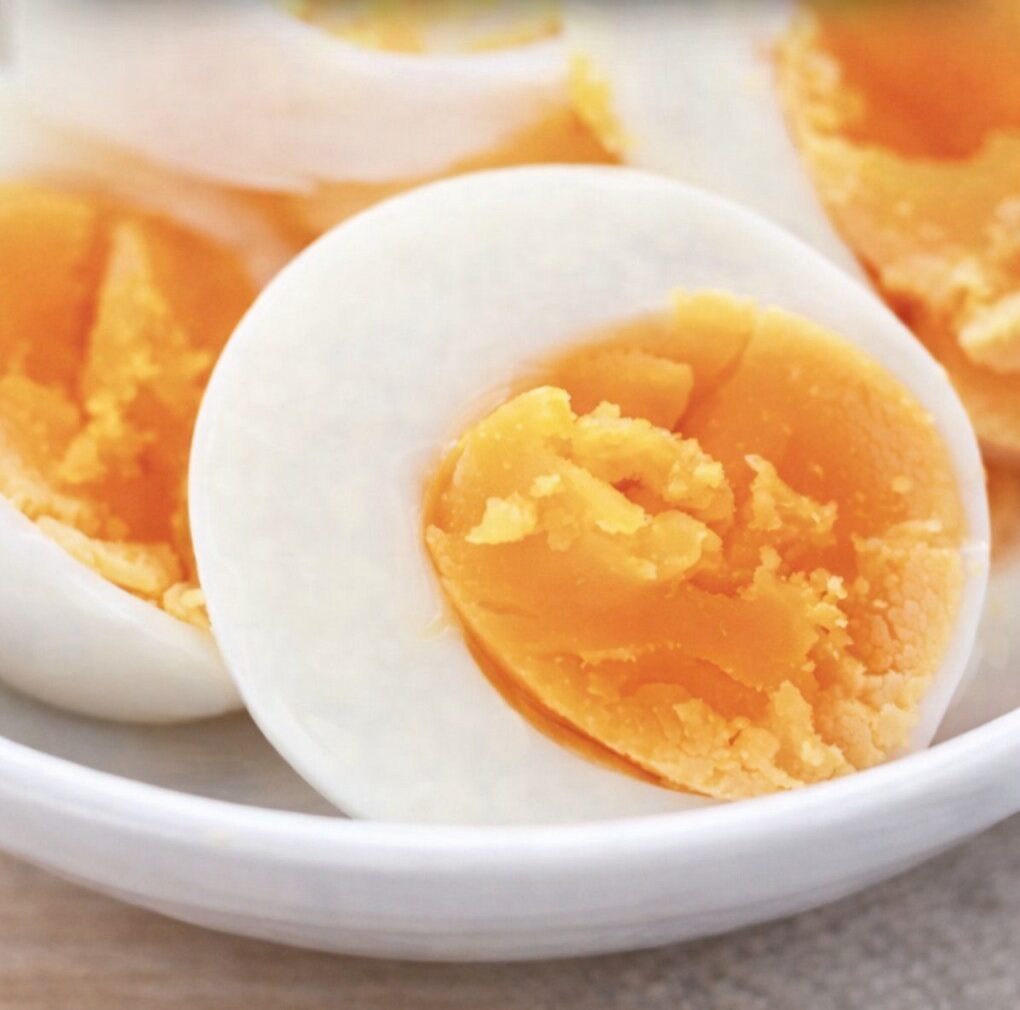
Let the eggs sit in the hot water depending on your preferred texture:
9 minutes for slightly soft, creamy yolks
12 minutes for fully firm yolks ideal for salads or meal prep
This step is crucial—overcooking is what causes the green ring.
Cool Them Quickly
Transfer the eggs immediately into ice water or very cold water. This stops the cooking process instantly and helps preserve a bright yellow yolk while also making peeling easier.
Let them sit for at least 5 minutes before peeling.
Peel with Ease
Tap the shell gently, then peel under running water. The water helps separate the shell from the egg, making the process smoother and cleaner.
Extra Tips for Better Results
Use Slightly Older Eggs
Eggs that are a few days old peel more easily than very fresh ones.
Add a Small Pinch of Salt
A little salt or vinegar in the water can help prevent cracking and keep whites intact if a shell breaks.
Store Properly
Unpeeled boiled eggs last up to one week in the refrigerator. Peeled eggs should be eaten within a few days for best freshness.
Simple Timing, Better Results
The secret to avoiding green yolks is simple: don’t overcook and cool quickly. That’s it. With just a few small adjustments, you can get clean, bright, perfectly cooked eggs every time.
Closing Call to Action
Try this method the next time you boil eggs and see the difference for yourself. If you found these tips helpful, share them with someone who loves cooking simple meals done right.